


July 30, 2013
On your mark, get set, Lego!
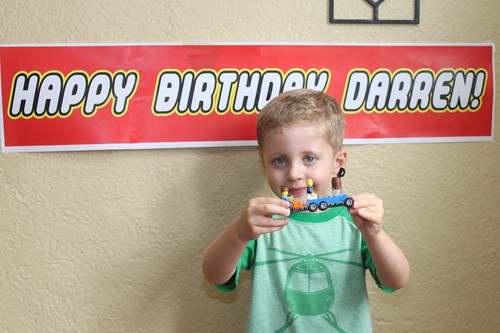
 Darren turned 5 recently, and there was no doubt about what kind of theme to have for his party: Legos. Our house is overrun with them, and he plays with them all the time. Amy and I have been getting pretty good with this theme stuff (thanks to our train party and Octonauts party), so we were up to the challenge.
My job was to come up with an activity for the kids, so I came up with a Lego version of a Pinewood Derby. Each child would create a Lego racer, and then race it on a track. The Lego Discovery center nearby has something like this, and it draws a big crowd.
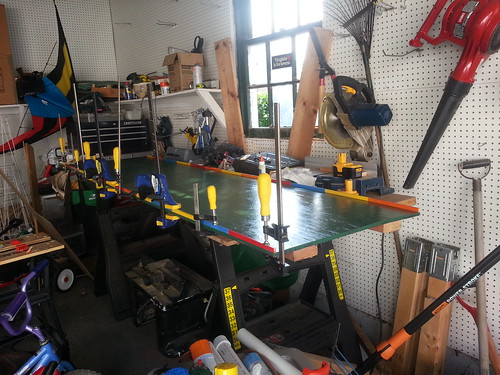
I had some 8-ft. tabletops I made years ago still in the garage, and thought they would make a good base for a track. If I glued on a few lane dividers, I'd be in business.
Here's my initial test, with lane dividers clamped in place. It didn't go well. The cars were constantly getting stuck on the dividers, due to the rubber material used for the tires instantly gripping the wood.
This was also a problem at the Lego Discovery Center:
I didn't think this would go over well. I had a few options:
- Encourage kids to add pieces that stick out further than the tires. I noticed that these kinds of cars would bounce off the borders, and keep going. But I think this concept is a bit beyond 5-year-olds.
- Get rid of the lane dividers. This would have the added benefit of greatly simplify the build. However, the cars could then crash into each other, which could lead to tears from some party guests. Also, the borders on the edges would still be a problem.
- Somehow keep the cars in the center of the lanes
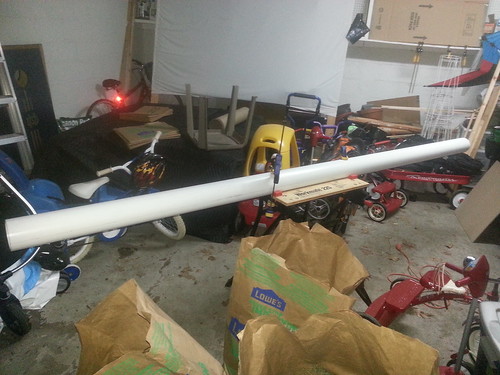
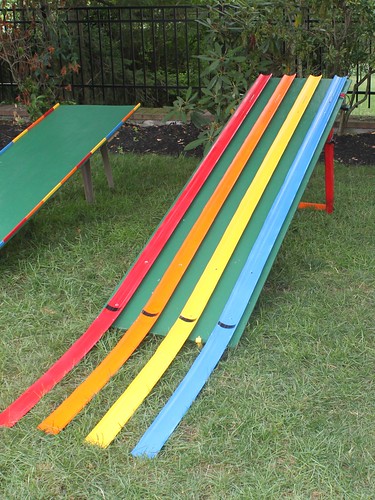
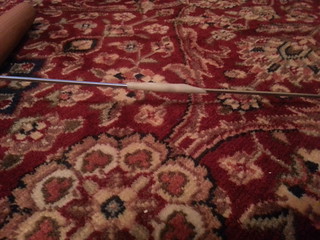
I went with the last option, by changing my lanes to have curved edges. To do so, I went out and got a 10-foot PVC tube, 4" in diameter. Somehow, it fit in my Prius. I cut it lengthwise into 4 strips, which proved tricky. Luckily, the pipe had a line of print across the side, so, hoping it was straight, I used the bottom of the text as a guide for a line from end to end. Then I based my other lines off this initial one. I used a tight string to serve as a straight-edge.
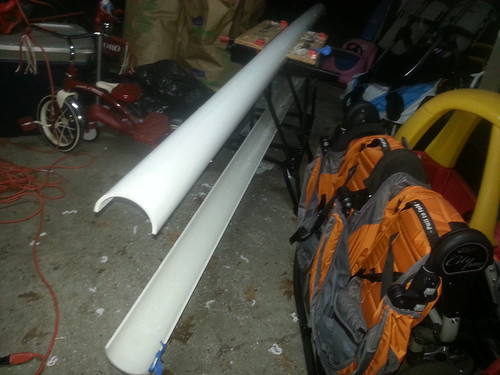
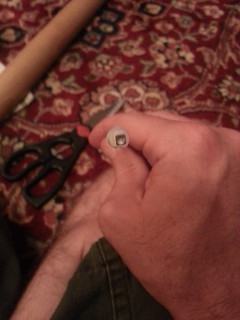
I cut along the lines using a scrollsaw, and a lot of patience. The sides weren't perfect, but I was happy with them. I now had four straight lanes with curved bottoms, each about π inches wide (math!) and 10 feet long.
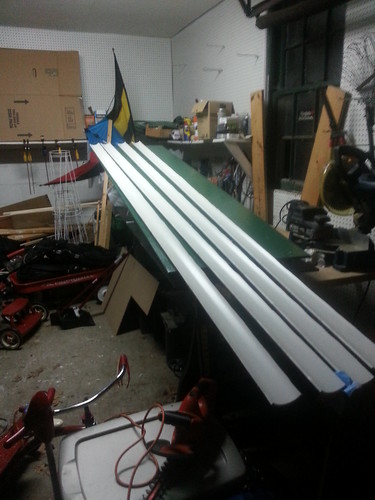
I spraypainted the PVC using bright colors, and attached them to the table using drywall screws. Two extra feet hung off the end, and extended along the ground, which worked great to slow down the cars and prevent a harsh crash to the ground.
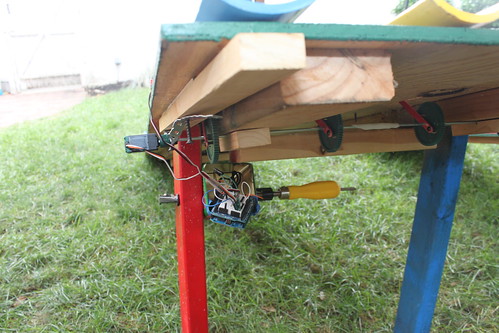
I decided to go all out and borrow another idea from the Lego Discovery center: a system to start all the cars at the same time.
I used some parts from a robotics kit to run an axle underneath the table (actually two axles joined together with Shapelock).
I spaced four gears on the axle. On each gear was a popsicle stick. Using the scroll saw (and a drill for the starter holes), I cut grooves in the table and the PVC to match the popsicle sticks. By turning the axle to raise the sticks up through the grooves, the sticks would hold the cars in place. By turning the axle to lower the sticks, the cars would all be released.
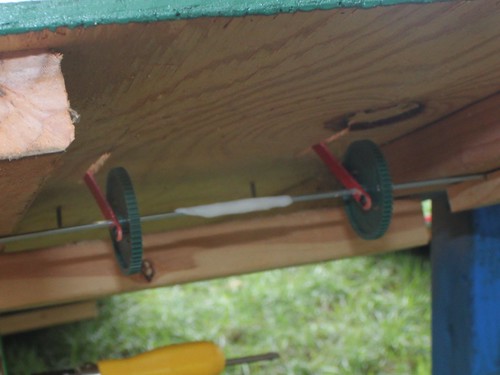
One of the popsicle sticks broke during testing, which was a surprise, as I assumed they were made from high-quality lumber. Oak or something. To help prevent further breaks, I dipped one end of each in wood glue. I don't know if it's what made the difference, but no more broke after that.
I painted the sticks red (at the request of the birthday boy), and we could now start the cars simultaneously by turning one of the gears mounted on the axle.
I borrowed another idea from the Lego Discovery center, and added a pushbutton start system. I mounted a servomotor to the end of the axle, and connected it to my Arduino. I added a pushbutton as well. I coded the Arduino so that when the button is pressed, it will turn the servo to lower the starting sticks for 10 seconds, then pop them back up.
I added this to the track late the night before the party. Not the prettiest thing to look at, but it was fairly small, and mostly hidden under the table.
On the day of the party, we set up a table for the kids to build their cars. We had bought some new Legos for the kids to use, including some specialty sets that focused on wheels, and a collection of mini-figures from eBay, to make sure that each car could have a driver.
Then we all went outside to race them. The kids loved it. The starting system worked great (after a brief scare that turned out to just be a dead battery), and the kids loved pressing the button to lower the sticks. 10 seconds proved a bit too long to have the gates down, though, as the kids were always impatient for them to pop back up. No one really seemed to care (or notice) who won each race. They just liked to see their car go down the ramp, make some changes, and go down the ramp again. Repeat.
After 20 minutes or so, we put out more Lego pieces, including new types of wheels that weren't out initially. This kept the level of interest high, as the kids were able to upgrade their cars or make new ones entirely.
In the picture below, you can also see a second track I made. I didn't have any more PVC, so this one was wide open, with wooden side walls painted to look like Legos, glued on with wood glue.
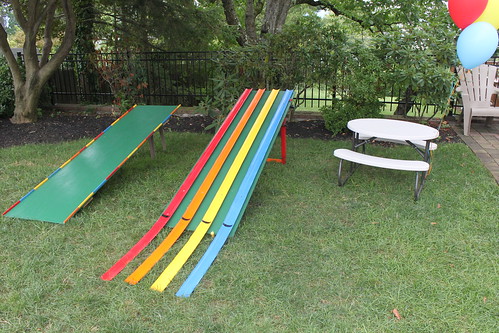
The glue didn't hold up to the barrage of kids though, so most of the walls were off by the end. This track wasn't as popular with the kids, though, so it wasn't a big deal that it was falling apart.
Cake
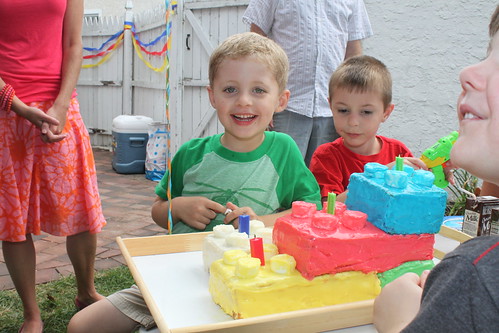
We found instructions for a Lego cake on the Betty Crocker website, and that's what we used for the cake. We used 3 boxes of cake, divided into 4 pans, to yield 2 square cakes, each with 2 layers. We cut up the squares into the various shapes we wanted for the blocks. Marshmallows halves served as the pegs on top. We added some structural support for the top tiers by putting sticks into the lower ones (we used lollipop sticks from the craft store), and added a rectangle piece of food-safe plastic between each layer
The icing didn't cooperate, so it wasn't quite what we had in mind, but overall I thought it was great.
Decorations
Amy found a Lego font online, so that made signs and stickers easy to theme. Though I think I'm probably out of red ink by now.
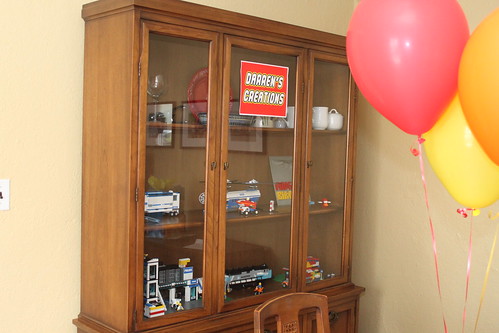
We put a "Darren's Creations" sign on a glass-front cabinet, and had Darren put some of his Lego projects on display.
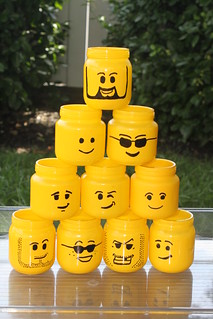
Amy made Lego heads out of baby food jars (big thanks to my little nephew for emptying them first) that she painted yellow, and did an amazing job drawing faces on them with a Sharpie. We served ice cream out of them. Which, in retrospect, is a bit creepy, but that didn't occur to me until now.

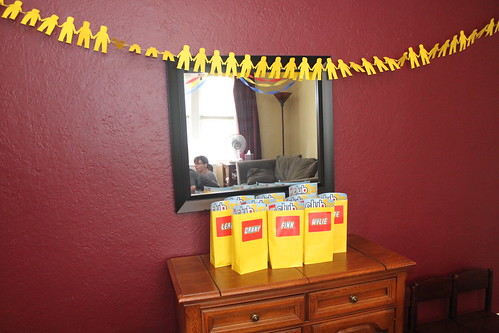
Amy also made paper-doll-style Lego guys to hang.
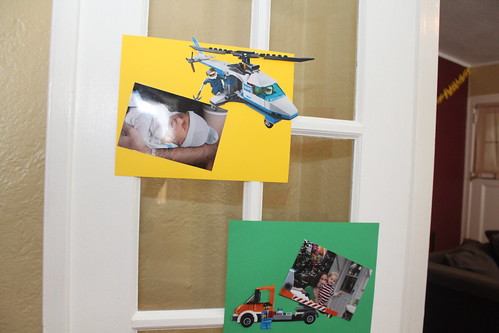
And we hung up photos from Darren's previous birthdays, as this has become a tradition.

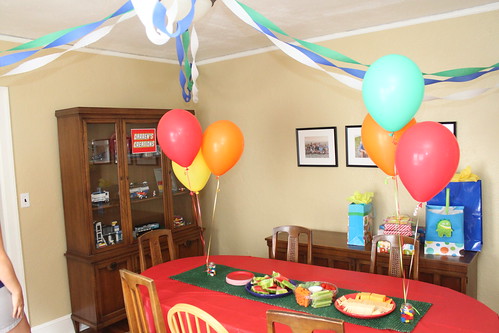
Other decorations included primary-colored streamers, tablecloths, and balloons, with legos used wherever possible
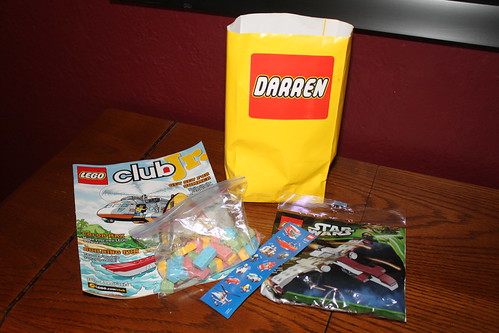
The goodie bags were filled with Lego-shaped candy we found online, a Lego magazine, stickers, and a mini-Lego set. The nametags were printed using the Lego font we found onto label paper.
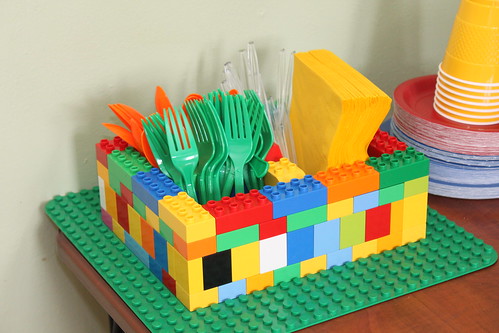
Lego (Duplo) cutlery holder:
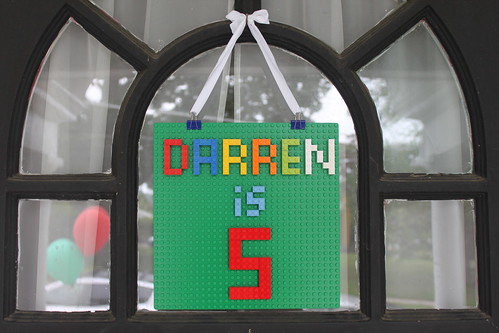
Here's the sign Amy made for the front door:
The result was a fantastic party, and a happy birthday boy.
Posted by Kevin at July 30, 2013 09:33 PM